

There it is again. That annoying little hole in your window screen that keeps getting bigger every time you look at it. Maybe your cat decided it looked like a great scratching post, or perhaps a stray branch did the damage during the last storm. Either way, bugs are now treating your home like an open invitation, and that needs to stop.
The good news? You do not need to call a professional or buy a brand new screen to fix the problem. Learning how to repair a torn window screen is actually a lot easier than most people think, and it can be done in under an hour with just a few basic tools and supplies from your local hardware store.
In this guide, we are going to walk you through the whole process, step by step. Whether you are dealing with a small puncture or a larger tear, you will learn exactly what materials you need, how to assess the damage, and which repair method works best for your situation. By the end, your screens will be looking good as new.
Start Here: Assess the Damage Before You Touch Anything
Before you grab a patch kit or start cutting new mesh, take two minutes to actually look at what you’re dealing with. A quick inspection now saves you time, money, and the frustration of a failed repair that falls apart a week later.
The good news is that most screen damage is simpler than it looks. Roughly 90% of the time, the frame is completely fine and only the mesh needs attention. That means a full screen replacement is usually overkill. Re-screening the existing frame is almost always the smarter, more affordable path.
Start with the tear itself. Run your finger along the damaged area and estimate the size. Tears under 3 inches on a healthy frame are solid candidates for repair. If you’re looking at a long rip, multiple holes, or damage scattered across the mesh, that’s a sign the material has broken down overall, and a patch won’t cut it.
Next, check the frame. Press gently on each side and corner. A bent, warped, or corroded frame won’t seat properly in your window even with brand-new mesh installed, so it points toward full replacement instead.
Now do the touch test on the mesh away from the tear. Healthy mesh feels flexible. Sun-rotted mesh feels stiff, crumbles at the edges, or looks chalky. If it fails this test anywhere, patching won’t hold.
Finally, look at the spline, the rubber cord running around the frame’s edge channel. If it’s cracked, flattened, or pulling loose, plan to replace it along with the mesh. According to the Window Screen Repair vs Replacement Cost Guide 2026, new spline is included in most standard repair kits and adds very little to the overall cost.
Repair vs. Replace: How to Make the Right Call
Once you know what you’re dealing with, the next question is simple: is it worth fixing, or time to start fresh? The 50% Rule is the clearest guide here. If repairing the screen costs more than half the price of a full replacement, skip the repair and replace it instead. The math matters because re-screening and full replacement aren’t that far apart in price, so the gap closes faster than most people expect.
Here’s what those numbers actually look like. Professional re-screening, where a technician replaces only the mesh and keeps your existing frame, typically runs $25 to $75 per screen. Full replacement with a brand-new frame installed lands between $75 and $300 per screen, depending on size and materials. So if your re-screen quote is pushing $60 on a screen that would cost $70 to fully replace, the 50% Rule says replace it.
The good news is that about 90% of screen damage is just torn or degraded mesh on an otherwise perfectly good frame. That means re-screening is usually the right move. A structurally sound frame with a single clean tear under 3 inches is almost always worth re-screening rather than replacing outright.
The clearest signals that replacement makes more sense are a bent or warped frame, multiple holes scattered across the mesh, or mesh that crumbles when you press it lightly with your thumb. Sun-rotted mesh looks intact from a distance but falls apart on contact; that screen needs to go.
One more thing worth keeping in mind: if you have 10 to 15 screens that need attention, batching them into a single project runs $750 to $3,000 depending on mesh type. That per-screen cost is significantly lower than tackling each one individually over time, making it the smarter long-term investment for the whole house.
Why DIY Patch Kits Often Make Things Worse
That $5 to $15 patch kit at the hardware store looks like a smart, quick fix. Grab it, press it on, done. The problem is that “done” often lasts about one season before the patch starts peeling up at the corners and the tear reopens, sometimes bigger than before.
Here is why patches fail so predictably on older mesh. The adhesive bonds to the surface of the screen fibers, not into the weave itself. On fresh, flexible mesh that bond can hold reasonably well for small punctures. But on mesh that has been sitting in direct sun for several years, the fiberglass becomes brittle and chalky, almost powdery to the touch. The adhesive grips the top layer of degraded fibers, and as those fibers continue to break down underneath the patch, the whole thing separates from below. The patch did not fail; the mesh beneath it failed, and the patch just came along for the ride.
If the mesh around the tear already looks discolored, yellowed, or crumbles when you rub it gently, no patch will hold reliably. That is your clearest signal to skip the patch kit entirely.
The smarter DIY route is a full re-screen, which runs about $20 to $40 in materials per window and produces a result that actually lasts. That said, it requires the right tools, a clean and undamaged spline channel, and a steady hand with the rolling technique. Rushing the spline roller or pulling uneven tension leaves you with baggy, wrinkled mesh that insects can push right through. Ace Hardware’s screen repair video is a solid visual reference if you want to see the rolling process before you start.
Still, even a well-executed DIY re-screen is a project. If you are not confident with the process, consider the math: spending $10 on a patch that fails in three months costs more over a year than a professional re-screen priced at $45 to $75, which holds up for 5 to 10 years on standard mesh or closer to 15 to 20 years on solar-grade material. One call, one visit, done for a decade.
What Re-Screening Actually Involves (Step by Step)
Now that you’ve decided re-screening is the right move, here’s exactly what the process looks like from start to finish. It’s more straightforward than it sounds, but the details matter.
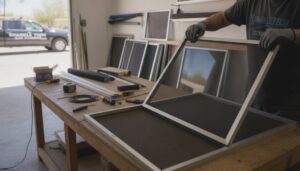
Step 1: Pull out the old spline. The spline is the rubber or vinyl cord pressed into the groove around your frame that holds the mesh in place. Wedge a flathead screwdriver or spline tool into the channel at one corner and pry it up. Once you get a section started, it usually pulls out in one continuous piece. The old mesh lifts right off once the spline is free.
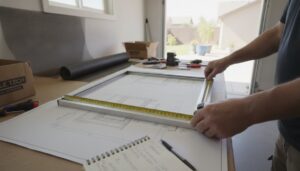
Step 2: Cut your new mesh oversized. Don’t cut the mesh to match the frame exactly. Cut it about an inch larger on all four sides. That extra material gives you something to grip while you work, and it keeps the mesh from pulling loose before the spline locks it down. Lay it flat across the frame before you do anything else so you can confirm the alignment looks right.
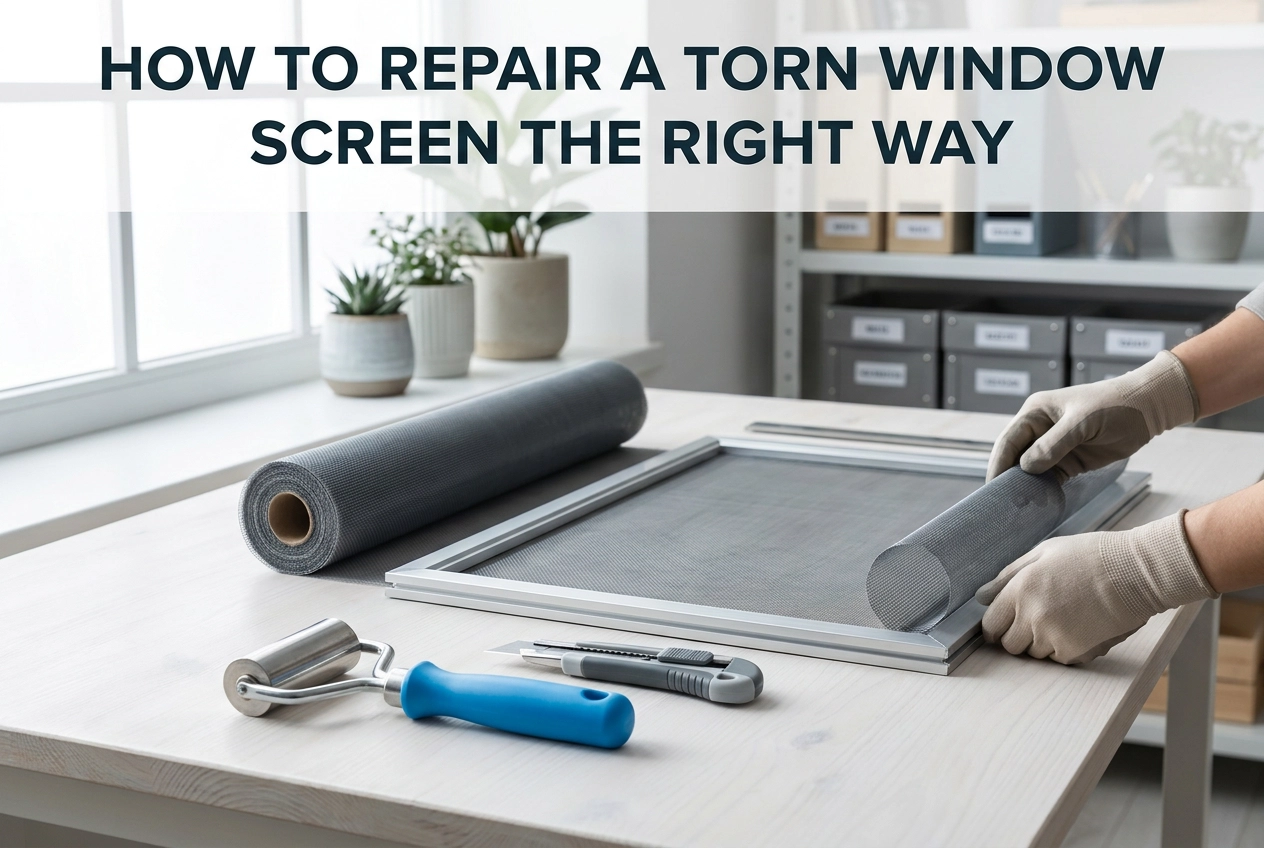
Step 3: Roll one side in first. Using a spline roller (a small hand tool with a concave wheel), press the new mesh into the frame channel along one side. Keep steady, even pressure as you roll. Uneven tension at this stage is the number one reason finished screens come out saggy or bunched, so take your time here.
Step 4: Work all four sides, then trim. After the first side is seated, move to the opposite side, then finish the remaining two. Press new spline into the channel as you go to lock the mesh in place. Once all four sides are done, run a utility knife along the outer edge of the frame to trim off the excess mesh flush and clean.
Step 5: Reinstall and check the tension. Slide the frame back into the window and look at the surface straight on. A properly re-screened window is flat, taut, and wrinkle-free across the entire span. Any sag usually means the spline wasn’t pressed deeply enough in that spot.
The whole process takes a practiced hand about 15 to 30 minutes per screen on-site. If you’d rather skip sourcing the right spline diameter, managing even tension, and dealing with trimming mistakes, Sparkle Tech’s same-week re-screening service handles all of it for you, with results that are taut and clean every time.
Should You Upgrade Your Mesh While You Are at It?
Here’s the thing about re-screening: the frame is already out, the old mesh is already gone, and a professional is already on-site. Swapping in a better material at that exact moment adds almost no extra labor cost. It is genuinely the cheapest window you will ever have to upgrade your screens, which makes it worth pausing for 60 seconds to think about what mesh you actually want going back in.
Standard Fiberglass: The Default Option
Standard fiberglass mesh is what most homes have, and it does the job it was designed for. It keeps bugs out, lets air through, and costs between $25 and $45 per screen for professional re-screening. The downside is a lifespan of only 5 to 10 years, and it offers zero UV resistance or protection against pets. If your home has no animals and your windows get limited direct sun, standard mesh is a perfectly reasonable choice.
Solar-Grade Mesh: Worth It for Sun-Exposed Windows
Solar-grade mesh blocks 70 to 90% of UV and solar heat gain while still allowing airflow. It lasts 15 to 20 years, and professional solar re-screening runs $40 to $60 per screen, which typically pays back in two to three summers through lower cooling bills. Compare that to a full solar screen replacement at $120 to $400 per screen, and the value of upgrading at re-screen time becomes obvious.
Pet-Grade Mesh: A Smart Call for Pet Owners
Pet-grade vinyl polyester mesh is 5 to 10 times more resistant to claw damage than standard fiberglass. It lasts 15 to 25 years and costs only about 30% more per screen than standard mesh, putting professional re-screening right around $35 to $50. Full pet-resistant screen replacement can run $100 to $350 per screen, according to current 2026 pricing data. Re-screening with pet-grade mesh delivers nearly the same result at a fraction of that cost. If a pet tore your current screen, installing the same standard mesh is just setting yourself up for the same repair again next season.
Screen Door Tears Are a Different Animal
Screen doors take a beating that window screens simply never experience. Every time someone pushes through, kicks the bottom rail, or lets the dog out, that mesh absorbs direct physical force. Pets are especially hard on screen doors, with scratching concentrated in the lower third of the frame where a dog or cat naturally reaches. That repeated stress adds up fast, and it shows in the damage pattern: screen door tears tend to be large, ragged, and multi-directional rather than the clean small holes you typically see in window screens. Corners and bottom rails are the most common failure points because that’s where frame tension, daily flexing, and pet contact all intersect at once.
Patching a screen door is almost always a temporary solution at best. The constant open-and-close cycle flexes the mesh around the patch edge every single day, and that repeated movement works the adhesive loose quickly. Most patches on screen doors start peeling within a few weeks of normal use, leaving you right back where you started.
The good news is that re-screening a screen door uses the exact same spline-and-channel process described earlier in this guide. The key difference is scale and material choice. A door frame is significantly larger than a window frame, which means tension has to stay even across a much bigger span. Given how much punishment screen doors absorb, pet-grade or heavy-duty mesh is a much smarter default for doors than it is for windows. The upgrade cost is modest, and the lifespan difference is substantial.
One practical thing worth knowing: not every repair service handles screen door re-screening as a standalone job. Many general handyman or glass shops focus on windows only. Sparkle Tech includes screen door re-screening as part of its standard service, so you don’t have to track down a separate specialist to get the job done right.
How Sun, Heat, and Dust Speed Up Screen Damage
If your screens seem to age faster than they should, your local climate is probably the culprit. UV radiation is the single biggest accelerant of mesh breakdown. The sun’s ultraviolet rays attack the fibers in standard fiberglass mesh directly, causing them to chalk, stiffen, and eventually crack. In high-sun regions, that process can happen within 3 to 5 years instead of the 5 to 10 year lifespan you might expect in a less intense climate. A screen that looks fine from a distance may already be brittle enough to tear at the slightest pressure. If you want a deeper look at how different materials hold up over time, this breakdown of window screen material lifespans is worth a read.
Heat cycling adds another layer of stress that most homeowners never think about. Every day, your screen mesh and frame expand in the afternoon heat and contract again overnight. Over hundreds of cycles, that repeated movement gradually loosens the spline seat, which is the channel that holds the mesh in place. Once the spline seat weakens, the mesh sits less securely in the frame and becomes much more vulnerable to tearing when wind pushes against it.
Dust and fine particulate matter do quiet damage too. Tiny particles work their way into the mesh weave and act like sandpaper against the fibers with every breeze. Screens that are never cleaned build up this abrasive layer year after year, making the mesh brittle far ahead of schedule. Routine cleaning genuinely extends screen life and it doesn’t take much effort to make a meaningful difference.
Finally, pay attention to which windows face south or west. Those orientations take the heaviest UV and heat load throughout the day and tend to show wear first. If your mesh is more than five years old on a south- or west-facing window, treat it as a priority. And when it’s time to replace, choosing mesh suited to your specific climate matters more than most people realize. Solar-grade mesh rated for 15 to 20 years is a significantly smarter investment in high-sun areas than standard fiberglass that may need replacing in half that time.
Clean Screens Last Longer: The Maintenance Step Most People Skip
Most homeowners think about their screens only when something goes wrong. But there’s one simple habit that quietly extends screen life, improves indoor air quality, and catches small problems before they become expensive ones: cleaning.
Dirty mesh is a functional problem, not just a cosmetic one. Accumulated dust, pollen, and debris clog the mesh openings, restricting airflow and trapping heat at the screen surface. That extra heat accelerates the UV-related breakdown you read about in the previous section, meaning a screen that goes years without cleaning degrades faster than one that gets basic attention twice a year. Every time the wind flexes the mesh back and forth, those trapped particles act like fine sandpaper grinding against the fibers. Over time, that physical wear adds up.
Cleaning also doubles as a free inspection. A small tear, a section of loose spline, or a patch of mesh that’s starting to go brittle is easy to miss on a screen coated in grime. Clean that same screen and those issues become obvious immediately. According to window screen maintenance best practices, a thorough twice-annual cleaning should always include a frame and spline inspection, because the two tasks take the same amount of time and catching damage early almost always costs less than catching it late.
If you’re already having a screen repaired or re-screened, that’s the ideal moment to clean and inspect everything else. Sparkle Tech offers screen cleaning as a companion service alongside re-screening and repair, so all your screens get evaluated in a single visit. Pairing a re-screen with a cleaning on the remaining windows resets your entire screen system at once and gives you a clear starting point for knowing when each screen will next need attention.
When to Stop DIYing and Call a Professional
DIY repairs make a lot of sense for small, clean tears on healthy mesh. But there are clear moments when stepping back and calling a professional is the smarter move, and recognizing those moments early saves you money and frustration.
The most straightforward rule: if the tear is larger than 3 inches, skip the patch kit. Larger tears require precise tension across the entire mesh to lay flat and seal properly, and that is genuinely difficult without experience. The same goes for mesh that feels brittle or crumbles slightly when you press it, or mesh that looks discolored or faded well beyond the torn area. That kind of deterioration is sun rot working through the whole screen, not just the spot you can see. Any visible bending, warping, or rust along the frame is also a stop sign. A damaged frame will not hold new mesh correctly no matter how carefully you install it.
If you already tried a patch and it failed, or if you are looking at three or more screens that need work, the economics shift pretty quickly. Professional re-screening runs approximately $45 to $85 per screen, but a technician can knock out multiple screens in a single visit with one set of tools and materials already on hand. When you add up your own material costs, tool purchases, and time across several screens, the DIY route often costs more when everything is totaled honestly.
Solar screen re-screening is a category where professional installation is strongly advisable regardless of your experience level. Solar mesh is noticeably stiffer than standard fiberglass, and it requires consistent, even tension across the entire frame to lie flat. Without that control, the mesh ripples and the finished screen looks uneven and performs poorly. This is not a beginner project.
Turnaround time is another real consideration. Same-week service from Sparkle Tech means a repair you discover on a warm Monday in May is handled before the weekend, not pushed into a backlog that runs into fall. When you factor in a professional visit, there is also the option to have every screen in the house assessed at once, catching screens that are close to tearing before they actually do.
Conclusion: Fix It Right the First Time
The decision comes down to three quick checks before you spend a single dollar: look at the frame, measure the tear, and apply the 50% Rule. If the frame is solid and the tear is under three inches, a repair makes sense. If repair costs more than half of full replacement, skip the fix and replace instead. Getting that sequence right up front is what separates a smart fix from money wasted.
Patch kits might feel like the easy answer, but a $5 to $15 adhesive patch on sun-brittle mesh is a temporary bandage at best. The surrounding mesh is already degraded, and the patch rarely survives a full season before the edges start lifting.
Re-screening is the smarter spend, and it doubles as a natural upgrade opportunity. Solar-grade and pet-grade mesh both deliver 15 to 25 year lifespans at a modest cost premium over standard fiberglass. That is real, lasting value.
While a professional is already on-site, bundle a screen cleaning for every screen that is not yet torn. Clean mesh lasts longer, flows better, and shows problems early.
Sparkle Tech offers same-week re-screening, screen door repair, and screen cleaning all in a single visit. Contact Sparkle Tech today to get it handled right the first time.