

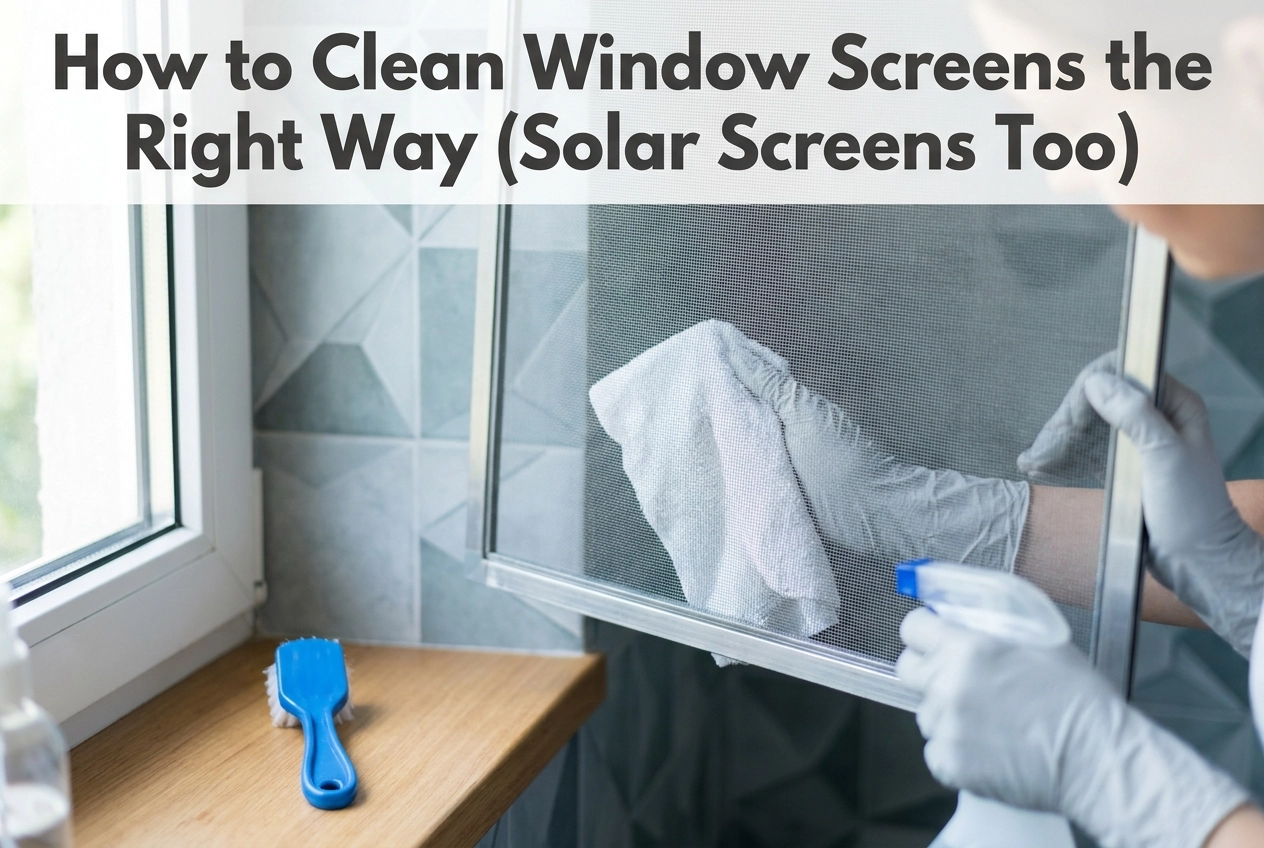

Dirty window screens are one of those things you don’t really notice until you do, and then you can’t stop noticing them. All that built-up dust, pollen, and grime doesn’t just look bad; it actually blocks airflow and makes your whole home feel less fresh.
The good news? Learning how to clean window screens is a lot easier than most people think, and you definitely don’t need any fancy equipment to get the job done right. Whether you’re dealing with standard mesh screens or specialty solar screens, this guide has you covered.
In this post, you’ll learn the best methods for cleaning window screens without damaging them, what tools and supplies to grab before you get started, and how to handle solar screens safely since they do require a slightly different approach. We’ll walk through everything step by step, so even if you’ve never done this before, you’ll finish with sparkling clean screens and the confidence to keep them that way. Let’s get into it!
Why Clean Window Screens? (And How Often Should You?)
If you’re like most homeowners, your window screens probably don’t make it onto the cleaning checklist very often. Maybe ever. And honestly, you’re not alone. But here’s the thing: screens don’t just filter bugs. Over time, they quietly collect layers of pollen, dust, insect debris, and airborne grime until they’re essentially blocking light and fresh air just as much as they’re keeping critters out. That grey, hazy look your screens get? That’s not just cosmetic. It’s buildup working against you.
So how often should you actually clean them? At minimum, once a year in early spring is a solid baseline. Think of it as part of your seasonal window refresh before you start opening things up for warmer weather. If you live somewhere with heavy pollen seasons, desert dust storms, or coastal salt air, bumping that up to two or three times a year is genuinely worth it. Salt and fine particulates don’t just sit on the surface; they work their way into the mesh weave over time and break down the fibers from the inside out. Fiberglass screens are especially vulnerable to this kind of embedded grime, which makes small tears and sagging much more likely down the road.
There’s also a practical airflow issue at play. Clogged mesh restricts the breeze coming through your windows, traps moisture against the frame edges and spline channels, and creates the perfect conditions for mold to quietly take hold. Regular cleaning sidesteps all of that with surprisingly little effort.
What You Need: Safe Cleaning Products and What to Avoid
The good news here is that you probably already own everything you need. Effective screen cleaning doesn’t require any specialty products or expensive equipment. Grab a bucket of warm water with a few drops of mild dish soap mixed in, a soft-bristle brush or microfiber cloth, your garden hose set to a gentle low-pressure spray, and a clean dry towel or microfiber cloth for blotting at the end. That’s genuinely it. Simple, affordable, and effective.
Now let’s talk about what to skip, because this is where a lot of people go wrong.
Avoid WD-40 and oil-based products entirely. There’s a viral Instagram Reel floating around that shows WD-40 being wiped onto screens with a microfiber cloth, and it looks convincing at first glance. But the comments tell a different story. Homeowners who actually tried it reported that the oily residue turned their screens into a magnet for cottonwood seeds, pollen, and airborne debris shortly after. Several also mentioned a persistent chemical odor that stuck around long after the cleaning session. The result was screens that were measurably dirtier than before. It’s one of those satisfying-looking hacks that creates a real problem in practice.
Skip power washers and high-pressure hose nozzles as well. Pressure above roughly 40 PSI can bend aluminum frames, stretch fiberglass mesh out of shape, and strip the specialized coating on solar screens that provides UV and heat rejection. Once that coating is gone, the screen won’t perform the same way, and you’ll need a replacement sooner than expected.
Steer clear of abrasive scrub pads, stiff wire brushes, and bleach-based spray cleaners. These degrade mesh fibers over time, corrode aluminum splines, and can discolor your screen frames. They shorten the lifespan of screens rather than protecting them, according to guidance from window care specialists at Andersen Windows.
One last tip worth knowing: if your home has hard water, add a small splash of white vinegar to your final rinse water. It neutralizes mineral deposits before they dry on the mesh and leave behind those chalky white spots that are frustratingly difficult to remove later. It costs almost nothing and takes zero extra effort. For more seasonal screen care inspiration, Power Home Remodeling’s spring cleaning guide is a helpful reference as you build your routine.
Method 1: How to Clean Window Screens Without Removing Them
If removing your window screens feels like more trouble than it’s worth, you’re in good company. This in-place cleaning method is one of the fastest-growing approaches among homeowners precisely because it skips the frustrating parts: tracking which screen belongs to which window, wrestling with stubborn frames, and risking bent corners during reinstallation. According to screen manufacturer Rite Screen, cleaning screens in place is a fully legitimate maintenance approach, not just a shortcut.
Here’s how to do it right, from start to finish.
Step 1: Dry brushing first, always. Before you introduce any water, use a dry soft-bristle brush or a vacuum cleaner with a brush attachment to loosen dry debris from both sides of the screen. Work gently across the entire mesh surface to remove pollen, cobwebs, and loose dirt. Skipping this step is one of the most common beginner mistakes. Wet pollen and dry grime combine into a muddy paste that smears into the mesh instead of rinsing away cleanly.
Step 2: Gentle soapy scrub. Mix a few drops of dish soap into a bucket of warm water. Dip a microfiber cloth or soft-bristle brush and scrub using light circular motions, always working top to bottom. This keeps loosened grime moving downward rather than spreading it back over areas you’ve already cleaned. Avoid stiff brushes or abrasive scrubbing pads; these can stretch or tear the mesh.
Step 3: Low-pressure rinse. Use a garden hose on its lowest pressure setting or a spray bottle filled with clean water. Direct the water at a slight downward angle to push debris away from the frame corners. Homeowners on DIY forums consistently flag high-pressure rinsing as a top cause of deformed mesh and loosened spline material, so keep it gentle.
Step 4: Blot and air dry before closing. Use a dry microfiber cloth to blot excess moisture from the frame edges and mesh, then leave the window open until the screen is fully dry. Closing the window over a damp screen traps moisture between the frame and the sill, which can lead to rust on metal frames and mold growth, especially in humid climates.
For upper-floor screens, a telescoping pole fitted with a long-handled soft brush handles the scrubbing step safely from ground level, no ladder required. Pair it with an extended hose nozzle for the rinse, and you’ve got a complete top-to-bottom clean without ever leaving the ground.
Method 2: How to Clean Window Screens by Removing Them
When your screens haven’t been cleaned in over a year, or you can see grime and debris actually embedded in the mesh weave, the removal method is the right call. In-place cleaning works well for light dust and seasonal pollen, but it simply cannot match the scrubbing access you get when the screen is fully removed and laid flat. This is the deeper clean, and it’s worth the extra twenty minutes.
Step 1: Label Every Screen Before You Touch Anything
Before you pop a single screen out of its frame, grab some painter’s tape and a marker. Write down which window each screen belongs to, stick the tape on the frame edge, and do this for every screen you plan to remove. This sounds like overkill until you’re standing in your living room holding six identical-looking screens with no idea where any of them go. Even windows of the same size in the same home can have slightly different opening dimensions due to installation tolerances, and forcing a mismatched screen into the wrong frame is one of the most common ways to end up with bent corners.
Step 2: Remove the Screen Safely
Most screens are held in place by tension tabs along the top or side of the frame. Press inward on the frame near those tabs to release the tension, then tilt the screen inward toward you before lifting it free. Keep both hands on opposite corners of the frame the entire time. Gripping only one side puts uneven pressure on the frame and can warp it during removal.
Step 3: Wash, Rinse, and Dry
Lay the screen flat on your driveway, deck, or lawn. Scrub both sides with a soft brush and warm soapy water, working from top to bottom. When rinsing, use your garden hose on a low-pressure setting. High pressure can dislodge the spline that holds the mesh to the frame, causing it to sag. You can find a helpful visual walkthrough in this Family Handyman YouTube guide on how to clean window screens.
Once rinsed, prop screens upright at a gentle angle to drip-dry. Do not lean them steeply against a wall or fence. At a steep angle, the frame corners absorb all the weight, and on larger or older aluminum frames, that’s enough to cause a bend. Give them time to dry fully before the next step.
Step 4: Reinstall Only When Completely Dry
Sliding a wet screen back into its track might seem harmless, but moisture trapped in the channel can cause the frame to swell slightly over time, making future removal harder and creating a damp environment where mold can develop. Patience here protects both your screens and your window tracks. Once everything is fully dry, reinstall each screen using your labeled tape as your guide and reverse the removal technique to snap it back into place.
How to Clean Solar Screens (This Part Most Guides Skip)
If you have solar screens on your windows, pay close attention here, because almost every general window screen guide treats them the same as standard mesh screens. They are not the same, and cleaning them like they are can actually cost you money.
Solar screens are built from a denser, more tightly woven polyester or fiberglass mesh with a PVC coating baked in. That coating is what blocks UV rays and rejects heat before it enters your home. Because the weave is so much tighter than a standard bug screen, it acts like a fine filter, trapping dust, pollen, and airborne debris more aggressively. The practical takeaway is that solar screens typically need cleaning more often than regular screens, not less. A light clean every two to three months, plus a deeper clean once or twice a year, keeps them working the way they were designed to.
What to Avoid
That coating is tough, but it is not indestructible. Pressure washers can stretch or distort the mesh weave. Abrasive scrub brushes can scratch and wear through the coating layer. Harsh chemical cleaners can break down the PVC finish over time. Each of these shortcuts chips away at the screen’s ability to reject solar heat, and none of that damage shows up immediately. You might not notice reduced performance until your energy bills creep up or the screen starts looking dull and discolored.
The Right Way to Clean Solar Screens
Follow these steps to protect the mesh and the coating:
- Dry-brush first. Use a soft-bristle brush to knock loose dust and debris off the screen before you introduce any water or soap.
- Rinse with low pressure. A garden hose on a gentle setting works perfectly. Skip the pressure washer entirely.
- Clean with mild soap and a microfiber cloth. A small amount of diluted dish soap applied with light pressure is all you need. Avoid scrubbing in the same direction repeatedly; alternating your stroke direction distributes wear more evenly and reduces the risk of pulling or distorting the tight weave.
- Rinse again with low-pressure water and let the screen air dry completely before reinstalling it.
If your solar screen already shows discoloration, visible coating wear, or reduced light filtering, another DIY cleaning attempt is not the answer. Those are signs of real degradation that need a professional eye. Sparkletech’s team cleans, inspects, and repairs solar screens regularly and can tell you whether your screen is still performing at its rated solar rejection level or whether rescreening makes more financial sense than continued maintenance. Sometimes a fresh screen costs less in the long run than cleaning a worn one that is no longer doing its job.
How to Clean a Sliding Screen Door
Sliding screen doors are a different cleaning challenge than window screens, and most guides treat them the same way. They shouldn’t. Your window screens sit elevated and relatively protected, but a sliding screen door lives at ground level, taking constant hits from foot traffic, pet contact, wind-blown debris, and whatever gets dragged in from outside. The bottom track is basically a debris trap that runs 24 hours a day, collecting dirt, hair, dead insects, and moisture year-round without a break.
Step 1: Start With the Track, Not the Mesh
This is the step most people skip, and it’s the most important one. Before you touch the mesh or introduce any water, grab a stiff-bristle brush or an old toothbrush and work it along both the bottom and top tracks to loosen compacted debris. Then vacuum out everything you just loosened. If you skip the vacuuming and go straight to wet cleaning, that packed-in dirt turns into a muddy paste that clogs roller housings and is significantly harder to remove. Dry first, wet second. Every time. According to screen door track maintenance guidance from Rite Screen, keeping the track clear is the foundation of everything else that follows.
Step 2: Clean the Mesh Panel
Once the track is clear, mix your dish soap and warm water solution and use a soft-bristle brush on the mesh panel, the same method covered earlier for window screens. The difference here is where you focus your attention. Spend extra time on the lower third of the door. That zone collects pet fur, outdoor dust, and foot-level grime at a rate that the upper mesh never sees. Rinse from top to bottom so dirty water doesn’t run back over areas you’ve already cleaned.
Step 3: Inspect the Rollers
While the door is accessible, take a close look at the rollers. Professional window cleaners note that roller condition is unpredictable and rollers can sometimes fall right out during cleaning. Clogged or worn rollers force the door to drag across the track instead of rolling smoothly, and that constant friction stresses the aluminum frame and pulls mesh away from the spline channel over time. It’s one of the most common mechanical causes of screen door damage that ends up needing repair.
Step 4: Lubricate With Dry Silicone Spray
After everything is clean and dry, apply a dry silicone spray to the track. This reduces roller friction, helps the door glide smoothly again, and slows how quickly debris re-accumulates in the channel. Skip the WD-40 here. Oil-based products leave a residue that attracts dust and dirt, essentially undoing your cleaning work within days.
If your cleaning session reveals bent frame corners, rollers that no longer sit in the track, or mesh that has separated from the spline, those issues go beyond a scrub brush. Sparkletech offers same-week screen door repair and rescreening so your door is back in working order before peak season hits.
When Cleaning Is Not Enough: Signs You Need Repair or Rescreening
Cleaning can do a lot for a screen, but it has one hard limit: it cannot fix physical damage. Once you have finished cleaning and your screens are fully dry, do not skip the post-cleaning inspection before you reinstall them. Lay each screen flat and run your eyes slowly across the mesh, looking for tears, holes, pulled or sagging mesh, bent frame corners, and the spline, which is the rubber cord that holds the mesh inside the frame. If the spline is loose, cracked, or missing in sections, the mesh will not stay taut, and no amount of cleaning will change that.
Small holes are not a “deal with it later” situation. A pinhole from a stray nail or an insect pressing against the mesh from outside can feel harmless at first glance. But wind flex and the repeated stress of seasonal removal and reinstallation cause that pinhole to widen. Within a single season, it can grow large enough to let mosquitoes through. The time to address it is before you put the screen back in the window, not after a summer of bites.
Bent or warped frames are a separate problem entirely. If a frame no longer sits flat when you set it on the ground, it will not seat evenly in the window channel either. That means gaps at the corners, and insects will find those gaps before you do. According to East Side Glass, bent frames are a clear replacement or repair indicator, and you often do not notice the warping until the screen is off the window.
Persistent discoloration that stays gray or yellow after two rounds of cleaning is another red flag. This usually means debris has bonded to the mesh fibers through years of hard water mineral buildup, UV exposure, or residue from nearby product use. At that point, the mesh itself has degraded, and further scrubbing will only weaken it more.
Finally, if insects are getting inside despite screens that look fine from across the room, the mesh has likely stretched at the corners. Those gaps are too small to spot at a distance, but they are plenty large enough for gnats and small flies.
The good news is that you do not have to replace the entire window setup. If the frame is still solid, rescreening can breathe new life into a screen at a fraction of the cost of full replacement. Sparkletech offers same-week rescreening and repair services, making it easy to handle the problem quickly before the season gets away from you.
Keep Your Screens Clean, Functional, and Ready for the Season
By now, you have everything you need to keep your screens in solid shape year after year. Clean them at least once each spring using mild dish soap, a soft brush, and low-pressure water. If you live somewhere with heavy pollen, coastal humidity, or dusty conditions, bump that up to twice a year. Those simple habits go a long way toward extending screen life without much effort.
When it comes to method, let the screen tell you what it needs. Lightly soiled screens get a quick in-place cleaning. Heavily soiled screens or anything that hasn’t been touched in over a year earns a full removal and deep wash. Solar screens and screen doors both need extra care that standard guides skip entirely; the wrong brush or too much water pressure can shorten their lifespan significantly. Easy tips for cleaning window screens consistently point to gentle tools and low pressure as the baseline for any screen type.
If your post-cleaning inspection turned up tears, bent frames, or loose spline, repair and rescreening are far more cost-effective than full replacement. There is no reason to let small damage sit. Sparkletech offers screen cleaning, repair, and rescreening with same-week availability, so once you spot a problem, you can have it handled fast.
Conclusion
Clean window screens make a bigger difference than most people realize. Better airflow, improved views, and a fresher-feeling home are all just one good cleaning session away.
Here is a quick recap of what matters most: remove screens carefully before cleaning, use gentle tools and mild solutions to protect the mesh, and always let screens dry completely before reinstalling. If you have solar screens, handle them with extra care to preserve their protective coating.
Now it is time to put this into action. Pick a mild day, gather your supplies, and start with just one or two screens if the full project feels overwhelming. You will be surprised how quickly the work goes once you get started.
Clean screens are a small upgrade with a noticeable payoff. Your windows, and your lungs, will thank you.