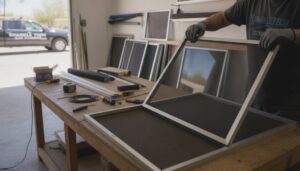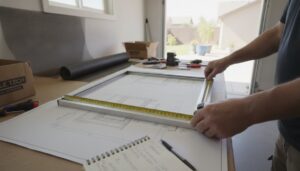

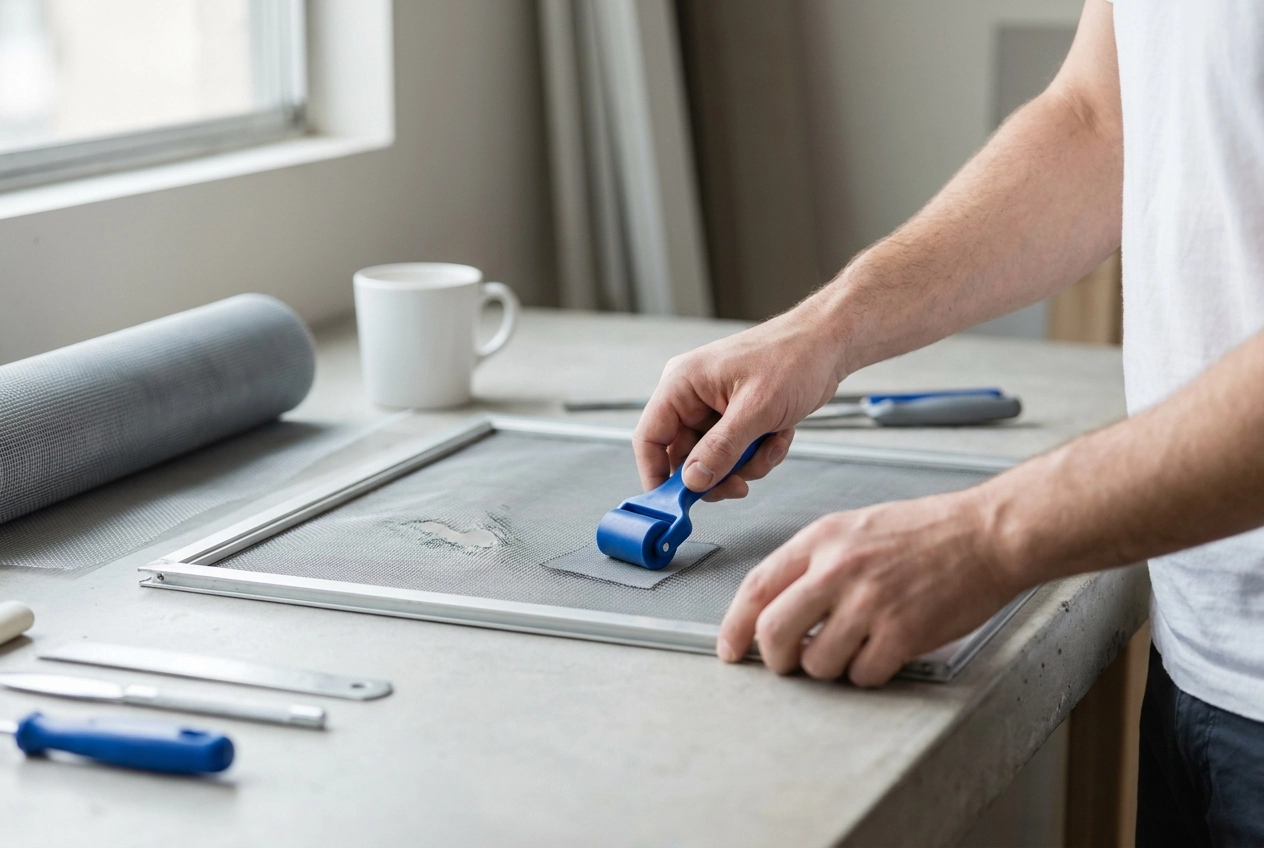

We’ve all been there. You walk past a window and notice it: a small tear, a tiny hole, or a frayed corner on your window screen. Maybe a pet got a little too curious, or a rogue branch did some damage during a storm. Whatever the cause, your first instinct might be to replace the whole screen entirely. But here’s the good news: you probably don’t need to.
Window screen patch repair is one of those surprisingly simple home fixes that can save you both time and money. And the best part? You don’t need to be a DIY expert to get it done right. With just a few basic supplies and about 15 minutes of your time, you can make your screen look and function like new again.
In this tutorial, we’re going to walk you through everything you need to know as a beginner. From choosing the right patch materials to applying them smoothly and securely, you’ll finish this guide feeling confident and ready to tackle that pesky hole once and for all. Let’s get started!
Assess the Damage Before You Reach for a Patch Kit
Before you tear open a patch kit, take five minutes to actually inspect your screen. A little detective work upfront saves you from wasting money on a repair that won’t hold.
Start with the size of the damage. A good rule of thumb is the three-inch rule: if your hole or tear is smaller than about three inches across and the frame looks solid, you’re likely a good candidate for patching. Anything larger than that and the mesh around the damage is usually too compromised to grip a patch properly. At that point, full rescreening is the smarter and more cost-effective move.
Next, check your frame before touching the mesh. Run both hands slowly along all four sides of the frame, pressing lightly at each corner. You’re feeling for bends, corrosion, or any corners that feel loose or separated. A warped or corroded frame can’t hold proper tension, so even a flawless patch job will start pulling away and failing within weeks. The frame has to be solid for a patch to have any chance.
Now do the UV rot test. Pinch the mesh gently between two fingers in an area away from the damaged spot and rub lightly. Healthy mesh flexes without complaint. If it crumbles, flakes, or snaps, the sun has degraded the material and no patch will stick. Since fiberglass mesh holds 38.4% of the window screen market as of 2025, most homeowners are working with fiberglass, but this same brittleness test works on aluminum and polyester mesh too.
Finally, count your damage points. Finding more than one hole during your inspection is a red flag. Mesh doesn’t develop multiple weak spots randomly; it signals the whole panel is wearing out. Patching one hole while two more are forming nearby is a losing game, and at that stage, a comprehensive repair guide will tell you the same thing: replacement is the practical call.
The 50% Rule: A Simple Cost Framework for Every Homeowner
Once you know what you’re dealing with, the next question becomes a financial one: does patching actually make sense, or are you throwing good money after bad? That’s where the 50% Rule comes in, and it’s one of the most practical frameworks a homeowner can have in their back pocket.
The rule is simple. If the cost of repairing or patching a screen exceeds 50% of what full replacement would cost, replacement is almost always the smarter financial move. You’re not saving money by patching; you’re just delaying an inevitable expense while still living with a compromised screen.
Quick Cost Reference (2026)
Here’s how the numbers break down so you can run the math yourself:
- DIY patch kits: $5 to $15 per screen
- Professional rescreening (new mesh installed in your existing frame): $25 to $75 per screen, with most standard screens landing around $35 to $55
- Full frame-and-mesh replacement: $75 to $300 per screen depending on size and material
Specialty screens shift the math considerably. Pet-resistant rescreening runs $100 to $350 per screen, and solar screen replacement costs $120 to $400. On a $120 solar screen, even a $65 professional patch job represents more than 50% of replacement cost. You’ve crossed the threshold before the technician packs up their tools.
If you’re looking at multiple screens, the whole-house picture matters too. Replacing 10 to 15 screens at once typically runs $750 to $3,000 depending on materials. Bundled professional jobs often bring the per-screen cost down noticeably compared to addressing screens one at a time, so it’s worth asking any contractor directly about volume pricing. For a deeper breakdown of repair versus replacement costs, this 2026 window screen repair and replacement cost guide walks through multiple scenarios clearly.
The Time Cost Counts Too
The 50% Rule isn’t only about dollars. Think about a patch that fails every spring: you’re spending 15 to 20 minutes reapplying it, buying a new kit each season, and still starting every summer with a screen that’s one good windstorm away from failing again. Three patch sessions per year adds up to nearly an hour of your time plus $15 or more in materials annually. One professional rescreening at $45 to $55 eliminates that cycle entirely. Professional rescreening is a single visit, a lasting result, and genuinely the better value once you do the honest math.
What DIY Patching Actually Involves (And Where It Goes Wrong)
So you’ve grabbed a patch kit from the hardware store, which seems like the obvious first move. A basic fiberglass patch kit runs between $5 and $15, and under ideal conditions, the repair takes about 15 to 20 minutes per screen. Simple enough, right? The problem is that “ideal conditions” rarely show up in real life. Results shift dramatically depending on your mesh type, the shape of the tear, and how clean the surrounding surface is. A ragged L-shaped tear on a sun-weathered screen is a very different challenge than a clean round hole on a newer mesh.
The Bug Gap You Can’t See
Here’s the part most DIYers don’t expect. When you press an adhesive patch onto a screen without perfectly aligning the mesh weave, tiny gaps open up between the patch grid and the original mesh grid. These openings are invisible to the naked eye, but mosquitoes and gnats only need a sliver of clearance to squeeze through. You think the hole is covered because it looks covered. Functionally, your screen is still leaking insects.
How a Patch Can Warp Your Frame
Pulling the mesh too tight while applying a patch puts real stress on lightweight aluminum frames. That stress can bow the frame just enough that the screen no longer sits flush in the window track, leaving air gaps along the edges where bugs and outdoor air can sneak in.
Moisture and Long-Term Mesh Damage
Adhesive patches also trap moisture against the surrounding mesh. That trapped moisture accelerates UV breakdown and oxidation in that specific area, causing the mesh around the patch to degrade faster than the rest of the screen. A patch that looks fine today can quietly compromise several square inches of surrounding mesh over a single season.
A poorly applied patch is never neutral. It actively worsens your screen’s overall condition and can turn what would have been a straightforward rescreening job into a full frame replacement if the aluminum has been stressed or the surrounding mesh has been weakened.
Screen Door Patch Repair Is Its Own Category
If you’ve been reading through this guide thinking “yeah, this all applies to my screen door,” here’s something worth knowing: screen doors are their own animal, and the patching rules we’ve covered so far don’t transfer cleanly.
Window screens sit still. They don’t move, they don’t flex, and the only real stress they experience is the occasional bump or curious pet. Screen doors, by contrast, get opened and closed dozens of times a day. That constant lateral force puts stress on the corners of the frame, and over time, those corner joints can start to separate quietly while the mesh still looks okay on the surface. You could apply a perfect patch to the mesh and have no idea the frame itself is already compromised underneath.
Pet damage makes this even more complicated. When a dog or cat scratches at a window screen, the damage is usually concentrated in one small spot. On a screen door, scratching tends to happen across a wide vertical zone, right where a pet pushes to get someone’s attention. That kind of damage almost always spans more than the three-inch threshold where patching stops making sense, and it frequently involves overlapping tears that no patch kit is designed to address cleanly.
There’s also a durability issue that’s easy to overlook. Screen door mesh takes more mechanical punishment than window mesh, so even a well-applied patch is working against constant motion stress every single day. What holds for months on a window screen may peel or re-tear within weeks on a door.
The good news is that figuring out what your screen door actually needs doesn’t require guesswork. A quick professional look can tell you whether you’re dealing with a mesh-only problem, where rescreening fixes it, or a frame-plus-mesh problem that calls for full replacement. That few minutes of assessment can save you from patching something twice.
Solar Screens Cannot Be Patched: Here Is Why
If you’ve made it this far in this guide thinking that solar screens follow the same rules as standard window screens, here’s the most important thing we’ll cover: they don’t. Solar screens are a completely different product, and when they get damaged, patching is simply not a viable option.
Here’s why. Solar screen mesh is engineered with a specific weave density and a specialized coating designed to block UV radiation and reduce heat transfer into your home. That coating and weave pattern are what give solar screens their energy-saving properties. A standard patch kit from the hardware store is made from basic fiberglass or polyester mesh, and no matter how carefully you apply it, that patch material cannot replicate the UV-blocking or heat-reducing performance of the original solar mesh. You’d essentially be installing a window into your solar screen, a spot where all that heat and UV radiation passes straight through unchecked.
Beyond the performance issue, there’s a visual problem too. Standard patch mesh has a different texture, color tone, and weave density than solar mesh. Once applied, the inconsistency is immediately obvious, and it disrupts the clean, uniform look solar screens are meant to provide.
There’s also a bonding problem. Solar screen mesh is thicker and has a coated surface that adhesive patches simply don’t grip well. Patches on standard fiberglass screens already tend to delaminate within a season or two. On solar mesh, that failure happens even faster.
The correct fix is full rescreening using matching solar mesh. The old mesh is removed, the frame is cleaned and inspected, and new mesh is installed at proper tension using a spline roller. Solar screen rescreening typically runs between $120 and $400 per screen depending on size and material grade, but given the energy savings and UV protection you get back, it’s a far stronger value than applying a patch that quietly undermines everything the screen was built to do.
Clear Signs It Is Time to Call a Professional
Some screen damage is a clear DIY candidate. Other damage is just as clearly a job for someone with the right tools, materials, and experience. Knowing which is which saves you time, money, and a lot of frustration.
The five situations that consistently call for a professional are: a hole or tear larger than three inches, mesh that crumbles or flakes when you press gently on it (the UV brittleness test from the earlier section), a frame that is bent, corroded, or has visible white oxidation in the spline channel, any solar or specialty screen type, and situations where more than one screen on your property needs attention at the same time.
That last point is worth dwelling on. If you have three or four damaged screens, a single professional visit handles everything in one appointment, with no material runs, no spline roller learning curve, and no risk of a failed patch that needs to be undone before the real fix can begin. That undo scenario is a real cost: a $5 to $15 patch attempt that fails still requires a professional visit, meaning you’ve spent more total than if you’d called first.
Timing matters more than most homeowners realize. During spring and summer, when windows are open every day, even one week with a torn screen means consistent insect entry, from mosquitoes to wasps, plus potential moisture exposure on rainy nights.
Professional rescreening runs $25 to $75 per screen according to the 2026 window screen repair cost guide, and the finished result simply outlasts any patch kit in durability, appearance, and pest resistance. That gap becomes obvious within the first season.
Sparkle Tech Sun Screens offers same-week rescreening and screen repair, which removes the time pressure that pushes homeowners toward a quick patch when a proper fix was always the smarter call.
How Regular Screen Cleaning Reduces Repair Frequency
Here’s something most homeowners don’t think about until a screen tears: how you clean your screens directly affects how often you need to repair or replace them.
Dirty mesh is more than an eyesore. When dirt, pollen, and debris build up in the screen fibers, that layer traps moisture against the mesh. Over time, that trapped moisture works alongside UV exposure to break down the material, making fiberglass and nylon mesh brittle and tear-prone far sooner than it should be. Regular cleaning removes that moisture-trapping debris before it gets a chance to do cumulative damage. According to easy maintenance tips from window cleaning professionals, a simple routine of monthly vacuuming, quarterly rinsing, and a full semi-annual deep clean keeps screens in the “cleanable” category instead of the “replaceable” one.
Seasonal cleaning also creates a natural inspection window. While screens are out, you can examine frames for early-stage corrosion, check whether the spline is still seated firmly, and spot small holes while they are still patch-sized rather than full-rescreening-sized. That early catch is the difference between a $10 fix and a $45-plus rescreening visit.
The cleaning method matters just as much as the frequency. For fiberglass mesh, the correct approach is a soft brush, mild dish soap in warm water, and a gentle garden hose rinse. Pressure washing and stiff-bristle scrubbing abrade the mesh coating and actually accelerate the brittleness you are trying to prevent, per guidance from step-by-step window screen cleaning resources. Avoid ammonia-based cleaners entirely; they degrade fiberglass over time.
If you are already scheduling a repair or rescreening visit, that appointment is a smart time to have your remaining screens cleaned professionally as well. New or freshly repaired mesh deserves clean neighbors, and bundling the services means you are not managing separate maintenance tasks on your own. Homeowners who build consistent cleaning habits consistently see longer intervals between rescreening needs, which meaningfully reduces the total cost of screen ownership over the years.
The Bottom Line on Window Screen Patch Repair
Here is the short version of everything this guide has covered: patch only when the hole is smaller than three inches, the frame is solid, and the mesh passes the brittleness test. Run the numbers through the 50% Rule before you spend a dime on materials. And if you are dealing with a screen door or a solar screen, skip the patch kit entirely since those categories almost always call for professional rescreening from the start.
If your screen clears all three of those checkpoints, a $5 to $15 patch kit is a perfectly reasonable fix. If it fails even one of them, the smarter move is professional rescreening, which typically runs $45 to $85 per screen and comes with guaranteed results rather than a fingers-crossed DIY outcome.
The other thing worth remembering is that a torn screen is not a problem you can put off. Insects do not wait for a convenient repair window, and every day a hole stays open is a day your home is exposed. Same-week professional service removes that risk entirely, with no wasted materials and no second attempt needed.
If you are ready to stop guessing and just get it handled, contact Sparkle Tech Sun Screens for a same-week rescreening or repair assessment. Whether you need a single screen patched, a full rescreening, or a solar screen replaced, the team can walk you through the right option without any pressure.
Conclusion
Fixing a damaged window screen doesn’t have to mean a full replacement, and now you have the proof. With the right patch material, a little patience, and about 15 minutes, you can restore your screen to working condition without spending a fortune or calling in a professional.
Here’s what to remember: assess the damage first, choose a patch that matches your screen material, and apply it cleanly for a lasting hold. Small repairs handled early prevent bigger problems down the road.
The next time you spot a tear or hole, don’t let it sit. Grab your supplies, follow these steps, and take care of it today. Your home deserves that kind of attention, and you are more capable of giving it than you might think. Now go fix that screen!