

Have you ever walked past a window on a hot summer day and felt like you were standing next to an oven? You’re not alone. Many homeowners deal with uncomfortable indoor temperatures, glaring sunlight, and skyrocketing energy bills without realizing there’s a simple solution sitting right in front of them.
Sun screens for windows are one of the most practical and affordable upgrades you can make to your home, yet so many people have never even considered them. Whether you’re tired of squinting at your TV because of the afternoon glare or you just want to stop cranking up the air conditioning every July, window sun screens might be exactly what you’ve been looking for.
In this post, we’re breaking down seven essential things every homeowner should know before buying or installing sun screens for windows. From how they actually work to what to look for when shopping, we’ve kept everything simple and straightforward. No confusing jargon, no overwhelming technical details. Just clear, helpful information to get you started on making your home more comfortable and energy efficient.
1. Exterior vs. Interior Sun Screens: Placement Changes Everything
When it comes to sun screens for windows, where you put the screen matters just as much as what the screen is made of. This is one of the most important things to understand before you buy anything.
Exterior screens are the clear performance winner. They intercept solar heat before it ever touches the glass, blocking it right at the source. According to Efficient Window Coverings, exterior solar screens achieve a shading coefficient of 0.14 to 0.33, which means they can block up to 86% of solar heat gain. That is a significant number, and it translates directly into a cooler home and lower cooling bills during hot months.
Interior solar screens work differently, and not quite as well. By the time sunlight reaches an interior screen, it has already passed through the glass and started warming the room. Interior screens only achieve a shading coefficient of 0.50 to 0.70, meaning they block roughly 30 to 50% of solar heat. They also offer less glare control, and they do nothing to protect your window frame from UV damage over time.
That said, interior solar shades have a real place in the conversation. They are significantly easier to install, require no exterior access, and can be swapped out seasonally. If you rent your home or live somewhere with HOA restrictions, interior shades may be your only realistic option.
For homeowners who want maximum energy savings and thermal comfort, exterior installation is the standard that professional screen service providers rely on. It is the approach built for results.
2. Openness Factor and Color: The Two Numbers That Drive Performance
Once you understand placement, the next big decision comes down to two numbers: openness factor and color. These two specs work together to determine how much heat, glare, and light your screen lets through.
Openness factor is simply the percentage of open space in the screen’s mesh weave. A 1% openness factor means the weave is nearly solid, blocking maximum heat and glare. A 10% openness factor means the mesh is more open, letting in more light and giving you a clearer view. According to this helpful solar shade openness guide, the most common benchmarks homeowners compare are 1%, 3%, 5%, and 10%, with each step trading a bit of solar protection for more visibility.
For most homes, a 5% to 10% openness factor hits the sweet spot. You get strong heat rejection while still being able to see outside during the day. Rooms with a great backyard view often go with 10%, while living rooms and bedrooms facing harsh afternoon sun tend to favor 5%.
Color plays a surprisingly big role too. As explained in this guide on how to choose an openness factor and color, darker colors like charcoal and black actually improve your outward view because your eye naturally focuses on the brighter exterior rather than the dark threads. Lighter colors like beige or white reflect more sunlight back outside, which sounds appealing in hot climates, but they create a washed-out look from the inside and reduce view clarity noticeably.
Here is a simple way to match your goal to your specs:
- Maximum heat and glare control: low openness (1% to 3%) plus dark color
- Balanced performance: 5% to 10% openness plus charcoal
- More natural light, softer look: higher openness plus lighter color
Start with your primary goal, then pick your numbers accordingly.
3. What Sun Screens for Windows Actually Cost in 2026
Now that you know what specs to look for, let’s talk dollars. Prices in 2026 vary quite a bit depending on what type of work you actually need done.
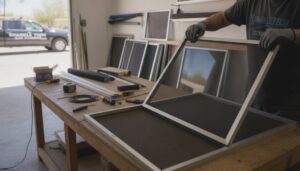
Rescreening an existing frame is the most budget-friendly professional option. If your aluminum frame is still in good shape, a technician can pull out the old torn mesh and install fresh mesh without replacing anything else. That runs $25 to $75 per screen, with most standard windows landing in the $35 to $55 range. It’s a quick job, often completed in 15 to 30 minutes per screen, and it’s well worth hiring out for a clean, tight result.
Full screen replacement steps things up a level. When a frame is bent, the corners have failed, or the screen simply no longer fits the track, you need new frame fabrication plus new mesh. Expect to pay $75 to $300 per screen professionally installed, depending on window size and material. You can find a helpful breakdown of these ranges in this window screen replacement and repair cost guide.
Solar screens engineered to block heat cost more because they do more. Professional installation runs $120 to $400 per screen, and a whole-house project covering 10 to 15 windows typically falls between $750 and $3,000. Many homeowners see the investment pay back within two or three cooling seasons through lower AC bills.
Pet-resistant screens run $100 to $350 per screen installed, reflecting the heavier-gauge mesh and reinforced framing required to stand up to claws. The upfront cost is higher, but pet-grade mesh lasts 15 to 25 years compared to 5 to 10 years for standard fiberglass, so the math often works in your favor over time.
One thing worth knowing: lead-matching platforms connect you to a rotating queue of contractors, which can mean waiting weeks during peak spring and summer season. Dedicated local screen services like Sparkletech offer same-week scheduling, so you’re not stuck waiting while the hot weather rolls in.
4. Fiberglass, PVC, and Specialty Meshes: How Screen Materials Compare
Not all screen mesh is created equal, and the material you choose will affect how long your screens last, how well they perform, and how much maintenance they require down the road.
Fiberglass is the most widely used screen material, holding 38.4% of the plastics coating window screen market in 2025. It’s popular for good reason: fiberglass is flexible, corrosion-resistant, and springs back to its original shape if you accidentally press on it. That last quality makes it especially practical in warm climates where frames expand and contract with temperature changes. It also comes in charcoal, which reduces interior glare better than silver-gray options.
PVC-coated polyester mesh is the backbone of most solar screen products. PVC coating leads all coating types with a 41.2% revenue share, and that’s largely because it holds its shape exceptionally well under prolonged UV exposure. If you’re shopping specifically for sun screens for windows that block heat, this is the material doing the heavy lifting inside most of those products.
Aluminum mesh is stiffer and handles punctures well, but it has two notable weaknesses. It creases permanently under impact and can oxidize if your home is near the coast or in a high-humidity area. If you live near salt air, aluminum is generally not the right call.
Pet-resistant screens use a thicker PVC-coated polyester weave that stands up to claws and repeated impact without tearing or bowing the frame. They’re a smart upgrade for households with active pets. For installation or rescreening with any of these materials, learn what the market research says about window screen options to understand which mesh type fits your priorities.
Reflective metallicized screens are newer to the residential world. They redirect solar heat outward in summer and reduce radiant heat loss in winter, though they remain more common in commercial buildings for now.
5. When to Repair Your Screen vs. Replace It Entirely
Not every screen problem calls for the same fix, and knowing the difference can save you a real chunk of money. A simple rule of thumb used by screen pros is called the 50% Rule: if repairing your screen would cost more than half the price of a full replacement, just replace it. Since a full window screen replacement with a new frame and mesh runs roughly $75 to $300, that threshold kicks in quickly when repair quotes start climbing.
The good news is that plenty of screen problems fall well below that threshold. Small holes, single tears, and screens that have simply popped out of their frame are all strong candidates for a straightforward rescreen. As long as the aluminum frame is straight and the corners are tight, a pro can pull out the old mesh, press in fresh mesh and spline, and be done in about 15 to 30 minutes. Most standard window rescreens land in the $35 to $55 range, which makes it an easy call.
Where things get more serious is when the mesh itself has gone brittle. If you touch the screen and it crumbles or tears with almost no pressure, that is UV degradation at work, not just normal wear. Standard fiberglass mesh typically hits this point after 7 to 10 years of direct sun exposure. Solar screen mesh, by comparison, holds up significantly longer, often 15 to 20 years, which is one more reason it is worth the upgrade on sun-heavy windows.
Frame damage is a different story entirely. A bent, bowed, or corroded frame cannot grip new mesh securely no matter what material you choose, so putting fresh mesh on a bad frame is money wasted. Full frame-and-mesh replacement is the right call there, as detailed in this window screen repair vs. replacement cost guide.
Finally, if several screens around your home are all showing the same worn-out patterns at once, that is a sign they were all installed around the same time and are aging together. A whole-house rescreen package from a local provider will almost always cost less per screen than handling each one as a separate job.
6. Do Not Forget Screen Doors and Sliding Door Panels
Most homeowners spend time picking the right solar screen mesh for their windows and then completely forget about the sliding glass door right next to them. That is a big missed opportunity. A large patio door has significantly more glass surface area than a standard window, which means it can let in a substantial amount of solar heat and UV radiation on its own. Overlooking your screen doors while upgrading everything else is like patching every hole in a boat except the biggest one.
The good news is that solar screen mesh works just as well in door frames as it does in window frames. The same material that cuts glare and blocks heat at your windows can be installed into a standard sliding screen door frame, giving you consistent protection across every opening in the room. The performance specs, openness factor, shading coefficient, color options, all of it applies equally to door panels.
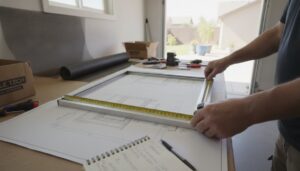
Sizing is not an issue either. Solar screen door panels come in standard dimensions and custom sizes, so even oversized patio doors are covered. A professional screen service can measure, cut, and frame a solar screen door panel during the same visit as your window rescreening, which saves time and keeps the project tidy.
If you have pets or young children who push against or lean on screen doors regularly, ask about pet-resistant or heavy-duty mesh for the door panel. It holds up to daily contact far better than standard mesh while still delivering solar heat reduction.
Finally, matching your door panel mesh to your window screens ties the whole exterior together visually and gives you whole-home energy performance rather than a patchwork approach.
7. Screen Cleaning Matters More Than Most Homeowners Realize
Here is something most homeowners completely skip in their screen maintenance routine: actually cleaning the screens themselves.
Over time, dust, pollen, and airborne debris work their way into the tiny mesh openings of your solar screens. This is a bigger deal than it sounds. Solar screen mesh is engineered to a specific openness factor, meaning the ratio of open space to total screen area is carefully calibrated to control heat, light, and airflow. When that mesh fills up with grime, the openness factor drops, and your screens stop performing the way they were designed to. You paid for heat-blocking and ventilation performance; dirty screens quietly chip away at both. Experts recommend deep cleaning screens at least twice a year, ideally in early spring before pollen season peaks and again in the fall.
There is also a real risk in aggressive DIY cleaning. Blasting screens with a high-pressure hose or scrubbing hard with a rough brush can distort the mesh weave and bend aluminum frames. Once a frame warps, the screen no longer sits flush in the window, and the whole unit needs replacement. Professional cleaning uses gentle, low-pressure methods that remove built-up grime without putting stress on the mesh or frame.
Curb appeal is worth mentioning too. Darkened, debris-clogged screens make your windows look grimy from the street, even if the glass behind them is spotless. It is one of those small details that quietly affects how your home looks overall.
Sparkletech offers screen cleaning as a standalone service and as an easy add-on when you are already scheduling a rescreening or solar screen installation. Bundling a cleaning with a service visit keeps the cost down and ensures your screens head into summer performing at full capacity.
The Bottom Line on Sun Screens for Windows
Here is the quick summary of everything this guide has covered.
For most homes, exterior solar screens with a 5% to 10% openness factor in a dark color like charcoal give you the best all-around performance. You get strong heat rejection, solid glare control, and enough view-through to actually enjoy your windows. That combination works for the vast majority of residential applications without overcomplicating things.
When screens need attention, use the 50% Rule as your guide. If fixing what you have costs more than half the price of replacing it, replacement is the smarter move. And if you have multiple screens that need work, asking about a whole-house package at the same time saves money on labor and keeps everything looking uniform.
Do not forget your sliding glass doors. Those large panels are often the single biggest source of heat gain in the whole house, and they are easy to overlook when you are focused on windows.
Keep your screens clean once a year. Dust and debris clog the mesh and quietly chip away at solar performance over time. A quick professional cleaning before summer protects the investment you made. You can learn more about what to look for in solar window screens as you plan your approach.
Sparkletech handles rescreening, solar screen installation, screen door service, and screen cleaning, all with same-week scheduling. Reach out now to get a quote before the late spring rush hits.
Conclusion
Sun screens for windows are a simple, cost-effective solution that can genuinely transform your home’s comfort and efficiency. To recap the most important takeaways: they block heat and glare before it enters your home, they reduce energy costs by easing the burden on your air conditioning, they protect your furniture and flooring from UV damage, and they come in a variety of options to match any home style or budget.
The best part? You don’t need to be a home improvement expert to get started. Take a walk through your home today and note which windows receive the most direct sunlight. That’s your starting point.
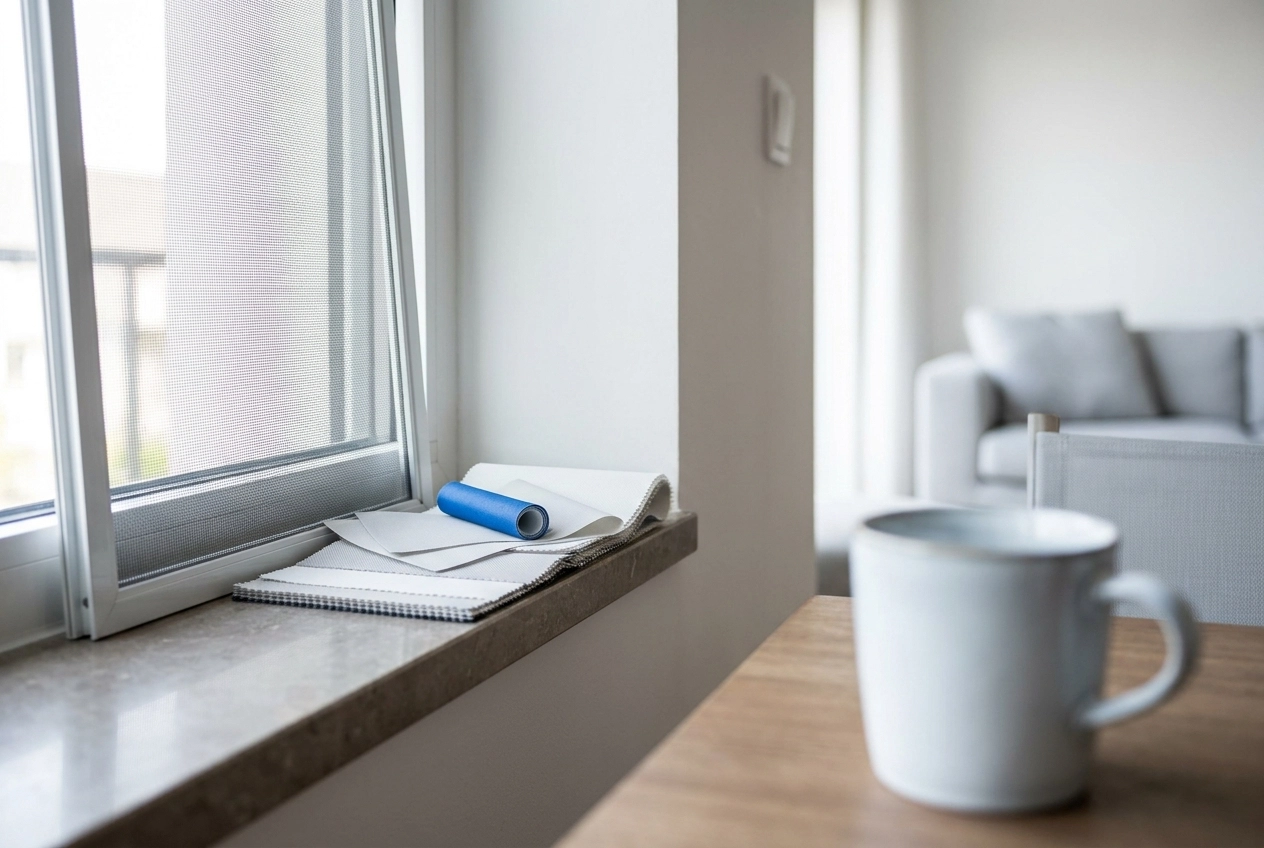
Ready to take action? Browse sun screen options from a trusted supplier and request samples to see the difference for yourself. A cooler, more comfortable home is closer than you think.